Showing posts with label tutorial. Show all posts

Thursday, 24 January 2013

Catch-up Blog Entry (Christmas)...

For christmas I got some cute Mary Jane (?) shoes from my mama which are super cute (especially with  lacy socks)! I also got a mug from my Boyfriend's Auntie which was so cute, and it came with a little father christmas decoration and a ton of tiny marshmallows >.<


On a whole different note... I can get my hair to look like this!!! But unfortunately it doesn't last long (only like a couple of hours or something... God damnit!)


And on another note (again, because I've done quite a few things since I've last posted) I made this bag!! Hooray! And it was a success. I take it everywhere now as it holds all my essentials. It's really cute with lace and a pearl button and lilac and cream pattern fabric. I was really proud of myself for making this and I followed this tutorial and it was confusing at first. But that might be because I'm really silly and things don't go in well >.<. Obviously I've changed some features but it's basically the same.


Hope you enjoy!
またね! 


Tuesday, 7 August 2012

KIY (Kawaii It Yourself)

Because I've been bored during the summer holidays I've been making lots of random stuff myself like the collars and things (if you haven't noticed). I got bored of saying "DIY" which to me sounds very manly and would involve some form of wood. I, personally, do not work with wood to make kawaii peter pan collars, key charms and small cute things. So I've decided to called it KIY. Doesn't really have the same ring to it... But I'm sure I can deal with it. Here are some more things I've made recently...

Made some cute cat ear in some hair clips
(No website, it was pretty easy to do myself, very finickity though)

Made a tiny Totoro from a template but halved the size
(also very finickity, but not as much)


And finally, I made a full size template Totoro!

Hope you like my cute creations! I'm happy with them.


Monday, 16 July 2012

More DIY...

 As I said in one of my last posts, I attempted to make a felt peter pan collar following this tutorial. It turned out pretty well! The tutorial is really easy to follow so it wasn't difficult at all!

(Purikura!)

I also had a go at making a fox tail charm as they seem to be getting pretty popular and personally I find them really cute! I really couldn't be bothered to spend money on one so I just bought fabric and made one myself. Didn't need to follow a tutorial this time... It was one of the easiest things I've ever made.

(Purikura!... Again!)

Tuesday, 10 July 2012

All of the Peter Collars!

Whilst I was spending lovely love love time with Onee-chan in Bournemouth, we discovered how to make peter pan collars. I know how to knit (admittedly a beginner), so once I found this tutorial on how to knit a peter pan collar you can imagine what my face looked like. The pattern was quite hard at first, but I tried another time and got the hang of it. The pictures below are my second try. The tutorial says to knit 13 rows for each strap, I tried this and thought that she must have a pretty skinny neck because it definitely didn't fit around mine (kind of strangled myself a bit). Instead I knitted 30 rows for each strap and cast off as she said in the tutorial. 


(And then I Purikura-d the picture o(>.<)o because I'm toats cool like that)

My next try will be to do this tutorial which is for a felt peter pan collar and looks far neater than the knitted one. Although the knitted one does look pretty spectacular in its own right.

Monday, 21 May 2012

My Own Gyaru Make-up Tutorial


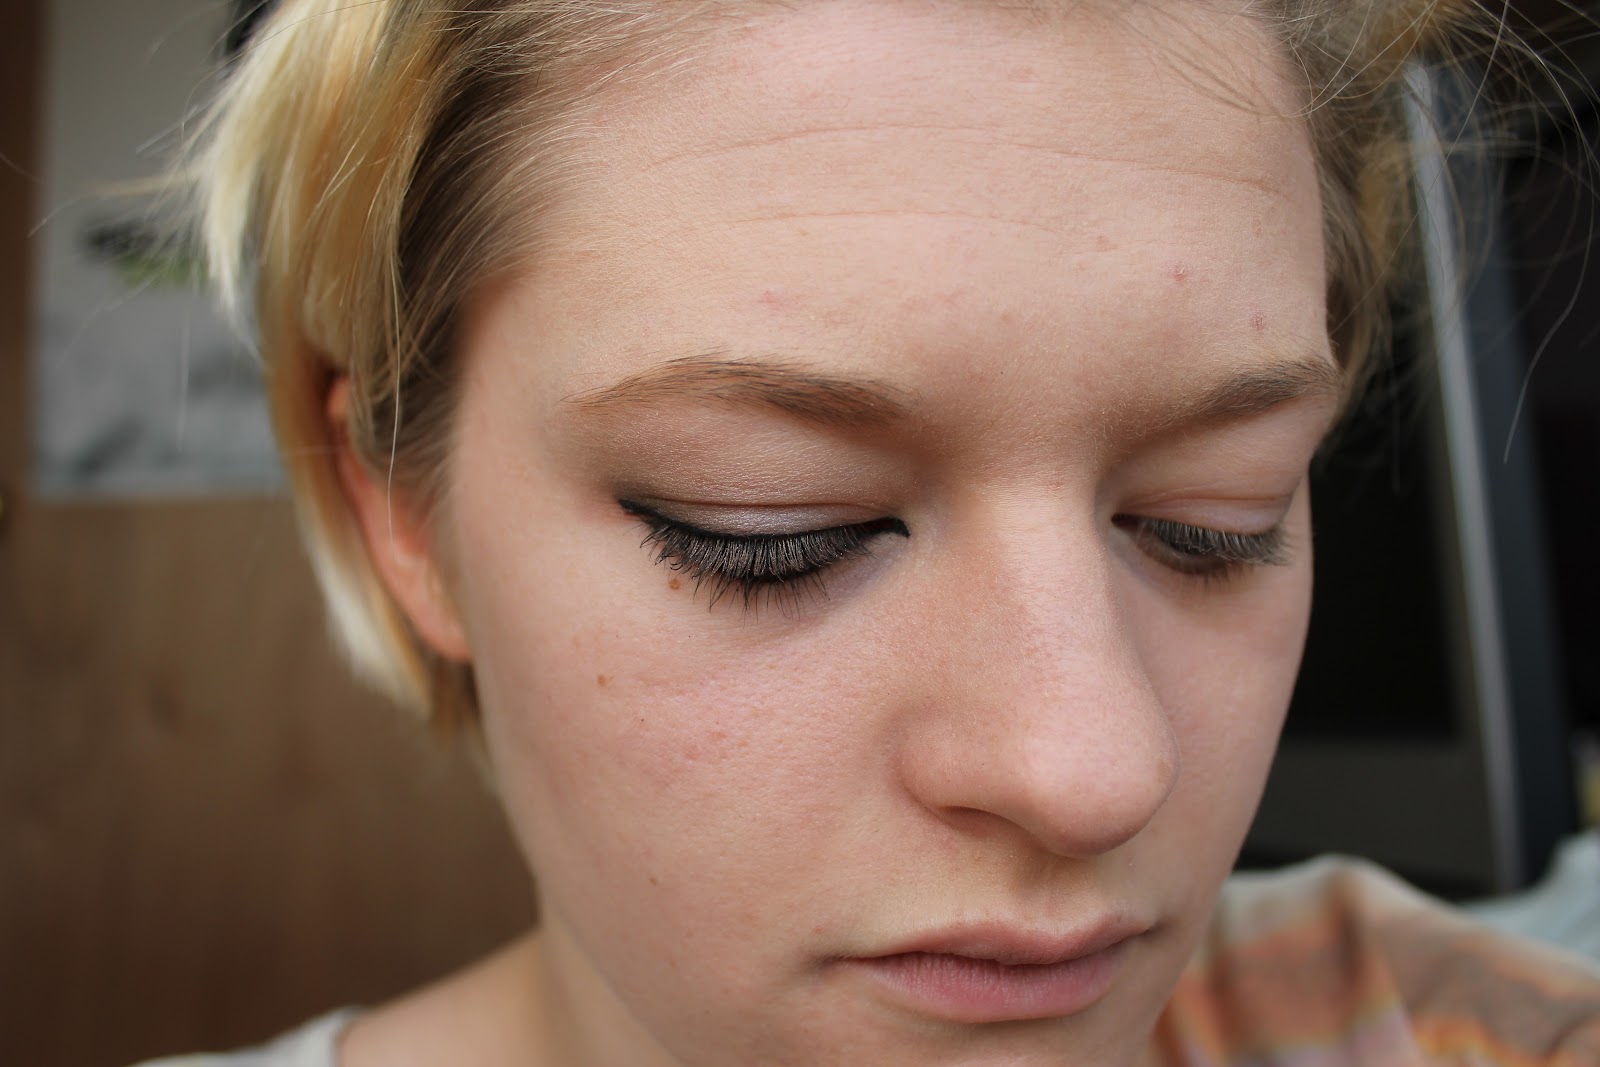
Today I'm going to show you how to do Gyaru make-up (a kind of japanese style make-up that makes your eyes look uber huge!). Above is the make-up I used which I will list at the end of this entry.

1. First I put in my Geo Angel Blue circle lenses is, this is a pretty essential element for Gyaru make-up/ Gyaru lifestyle anyway, but if you don't have any, don't worry! The make-up makes eyes look huge anyway (but you should buy some anyway because they are epic). Then put on any face make-up that you usually use. For me, that's foundation then concealer then powder. I use a buffer brush to apply my foundation, fingers for concealer and a large powder brush for powder. If you really want a lot of powder on your face, get a make-up pad and cover your face by pressing the pad with the powder onto your face, then with the brush take off any excess powder and you get a soft looking face! After this I drew my eyebrows in with a dark brown eyebrow pencil.


2. Add dark brown eyeliner around you're eye, making go thick to thin from outside to the inside of your eye. Then add the eyeshadow starting with the lightest colour first spreading it across your whole eyelid. Then put the second lightest shade on half your eyelid, a quarter of the second darkest shade and the corner of your eye in the darkest shade. Then underneath your eye, only use the second darkest and darkest shades, run the  second darkest shade underneath your eyelashes then the darkest shade. Use the picture as a guide.


3. Then add your eyeliner. This is pretty difficult to explain, so I have made a diagram. You basically outline the whole of your eye really finely, then make line thicker towards the outside of your eye. Do this on the underneath of your eye as well. Then on the inside of your eye, draw a small flick.


 4. Touch up on any eyeshadow that has been lost in the process and touch up any eyeliner with a cotton bud O(≧∇≦)O. Once you are satisfied with those, time to add mascara! You can curl your lashes first with an eyelash curler, this will make your eyelashes look bigger and therefore make your eyes look bigger! Then, to make them look even bigger, take a white eyeliner and contour your waterline, this creates the illusion that the white of your eye is larger. 

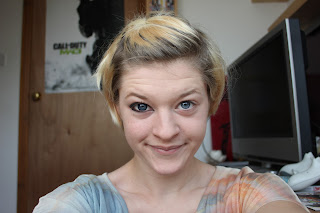
Hooray! Now, I've only done one eye to show you the immense difference it makes to your natural eyes. Then I did the other eye, added some blusher and lip tint as well as dotted some glittery eyeliner on the outside of my eye, and at the end on the inner eyeliner flick.


EPIC IMMENSE STUPENDOUS EYES!

List of make-up I personally used:
  • Geo Angel Blue Honeycolour Circle Contact Lenses
  • Rimmel London 'Stay Matte' concealer in 010 ivory
  • Bourjois 'Ten Hour Sleep Effect' foundation in 71 apricoté clair
  • Rimmel London 'Stay Matte" pressed powder in 001 transparent
  • Rimmel London eyebrow pencil in 002 hazel
  • Rimmel London 'Soft Kohl' Kajal eye liner pencil in 011 sable brown
  • Rimmel London 'Soft Kohl' Kajal eye liner pencil in 071 pure white
  • Rimmel London 'Glam' Eyes' Quad Eye Shadow in 002 smokey brun
  • 2True by Superdrug liquid eyeliner No. 1
  • 2True by Superdrug glitter eyeliner No. 8
  • Rimmel London 'Extra Super Lash Curved Brush' mascara in 101 black black
  • 2True by Superdrug Cheek & Lip tint
  • Bourjois blusher powder in 95 rose de jaspe
  • QVS by Superdrug eyeshadow brush
  • Real Techniques stippling brush
  • Superdrug/Boots eyelash curler
  • Cheap powder brush (from Boots/Superdrug probably)
  • Old wide eyeshadow brush and blusher brush, can't remember where I got them from


Manga Nail Art


From a tutorial I found on YouTube, I decided to make comic nail art. There was lots of preparation involved such as finding some vodka (which wasn't so hard to find), white nail polish and pages of manga. I was very sad to cut up volume 6 of Tsubasa Resevoir Chronicles, but it was a cheap second hand version which I haven't got any other book for. Once I'd found small enough faces in the manga, I dipped them in the vodka and pressed the picture face down against my already painted nail. 


They turned out okay, in the end I added a small amount of nail polish remover to the vodka mix thinking that on contact the nail polish would melt a bit and the comic would fuse to my nail (in theory) in kind of worked. Anyway, here is the tutorial so you can try it out as well, and hopefully not fail miserably.